C2 PROJECT
C2 Photo Album
album:Mid Feb 2019
Photos from Mid Feb 2019
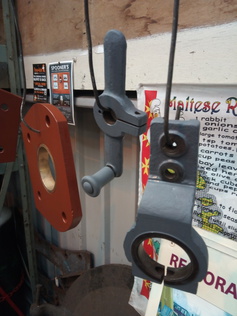
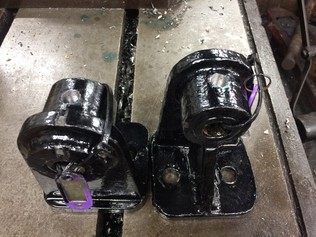
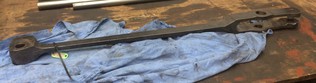
Lubricator and steam brake parts hanging up after painting. The ratchet handle has been straightened, cleaned and painted - Erle Ford
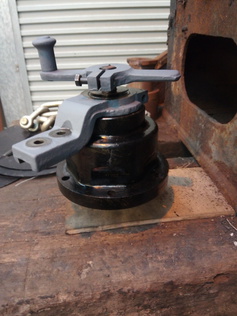
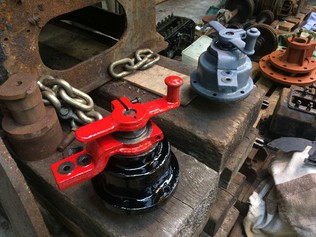
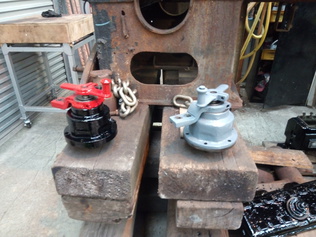
Lubricator ratchet external view. Black bits will be finished black, while the parts in grey primer will eventually be red. - Erle Ford
Lubricatior ratchet internal view - Erle Ford
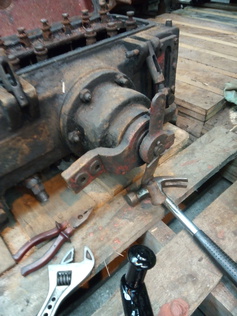
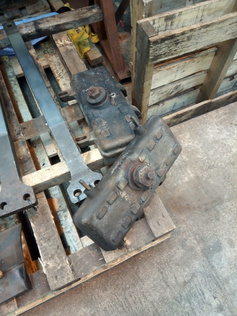
Lubricator - note the bent ratchet handle. Erle Ford.
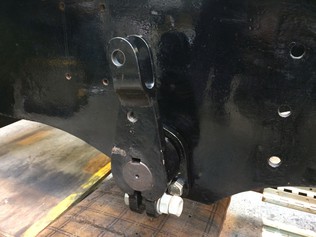
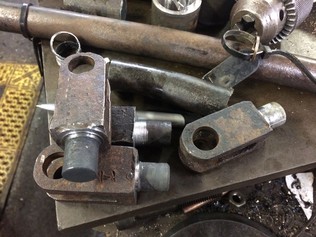
Brake ratio lever bracket fitted, including the lever, collar and locking nut.
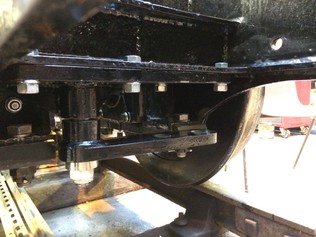

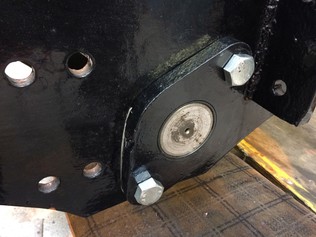
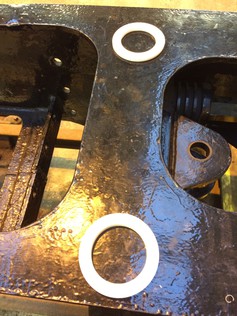
Brake weighshaft bolted in place, showing the position of the vesconite washers which control its lateral position.
Driver's side of the brake weighshaft. The steam brake cylinder will act on the top of the crank.
Fireman's side of the brake weighshaft.
The two Vesconite washers made by Dave, before assembly.
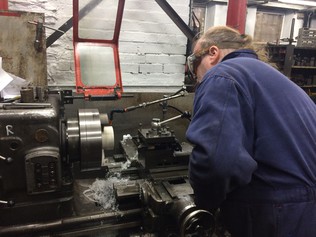
Dave machines the Vesconite washers.
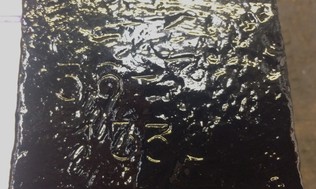
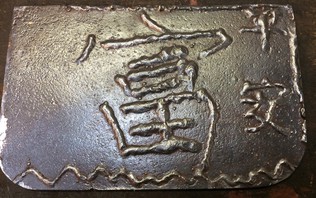
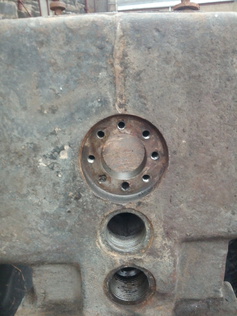
One of the draincock intermediate weighshaft brackets has numbers stamped into it:
591-6
4351
591-6
4351
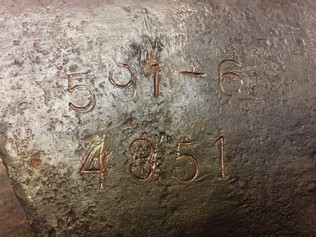
The same draincock main weighshaft bracket also has a number stamped into it in another place:
1539
1539
One of the draincock main weighshaft brackets has numbers stamped into it:
36-7
1539
Whatever do they mean?
36-7
1539
Whatever do they mean?
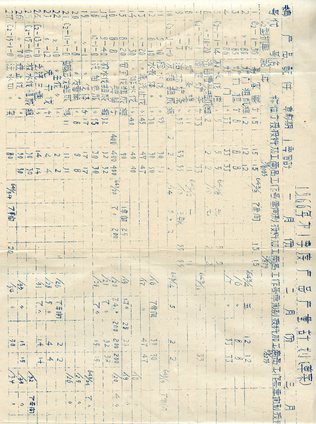
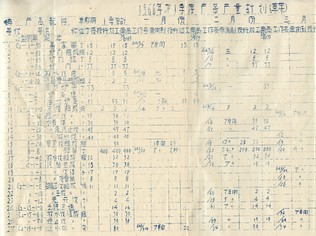
Extract of the 1966 production statistics from Harbin Forest Machinery Factory, which form part of Paul's collection of old Chinese books and documents. This page lists drawing numbers (of the form C2-##-##) descriptions and production quantities each period. Perhaps we can link some of the numbers stamped into our components with these documents? Or does the presence of the numbers indicate they aren't Chinese at all, but Polish?
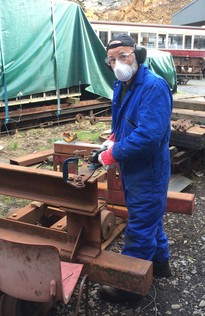
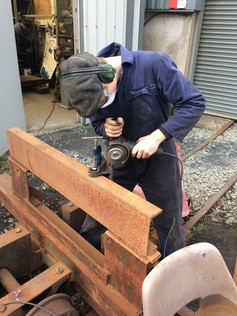
New volunteer Alan cleans up part of an expansion link assembly.
Paul cleaned up the three expansion links.
Erle paints a completed lubricator lid.
Caleb cleans up the draincock operating rod bracket. Dave 2 later drilled and tapped this for a grease nipple, and Caleb painted it.
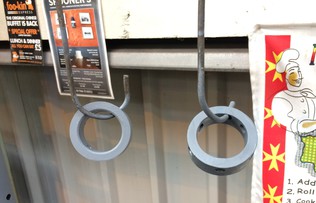
These two collars act as stops for the movement of the draincock operating rod. The one on the right was acquired with the loco, but the other was missing. Paul machined up a replacement from an offcut of steel bar, seen on the left.
The draincock dropper rods are at the back of the cylinders. They were both bent, and neither was the correct length!

The original footstep with its Mandarin tread, refurbished by Paul for re-use on the new crash beam.
Dave 2 cut the ends off the tubular draincock dropper rods, and by setting up the clevis ends in a 4-jaw chuck he was able to machine off the remains of the tube and reveal the original spigots.
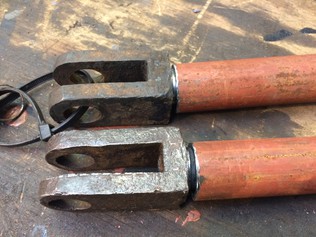
The refurbished spigots, ready for fitting to new lengths of tubing, which are straight and the correct length!
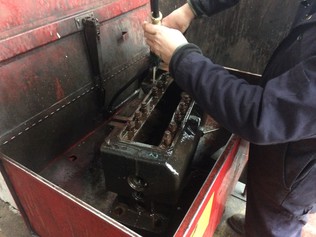
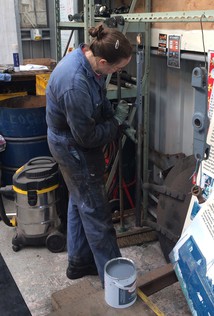
Erle cleans the lubricator body in the greaseater
Draincock weighshaft support brackets with holes drilled for grease nipples.
Jacinta paints sections of the draincock operating rods. The painting rack that Dave 2 built a few weeks ago is proving very useful!
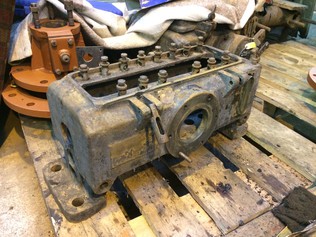
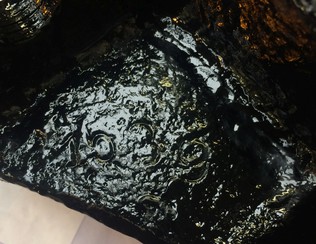
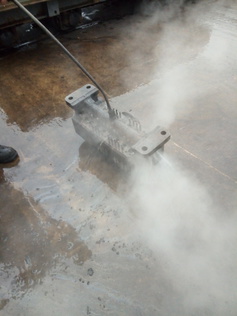
The lubricator body after pressure-washing.
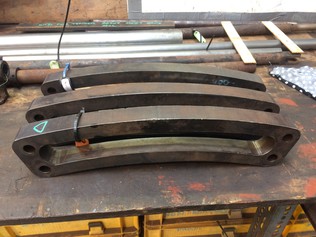
Parts of the expansion link assemblies, now cleaned up ready for a check of their measurements.
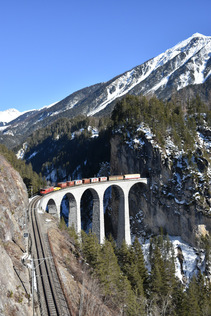
Andrew was enjoying narrow-gauge railways in the mountains a little further afield...
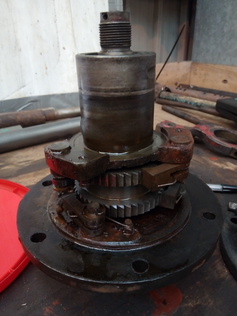
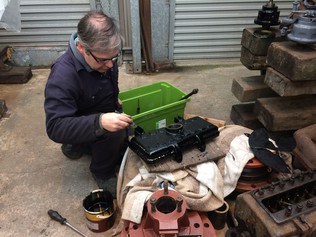
Oil pump units removed from the lubricator and awaiting cleaning.

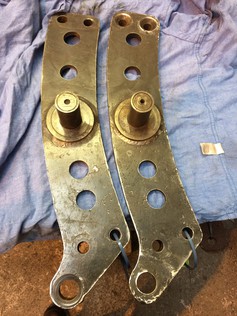
We have five radius rods like this, two from the loco and three spares. Alan and Jacinta cleaned these up so we can assess their condition and decide which to use.
Lubricator ratchet and handle assemblies, in different stages of painting.
Erle paints a lubricator crank with our preferred red paint: BMW Hellrot.
...but Wales was pretty beautiful too!

The lubricator body after pressure-washing.
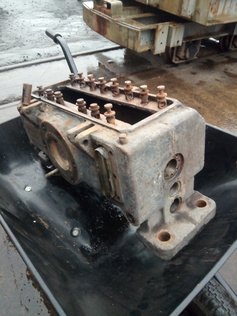
We've got some tricky stud extraction to do on this end of the lubricator casing...
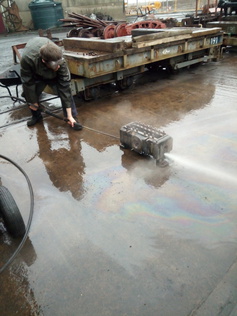
Ed uses the pressure washer to blast through the inaccessible parts of the lubricator body...
...and cleans the complex shapes on the underside.
Lubricator lids with the filler caps now freed off by Paul.